If you live in a listed property, or in a house that was built before 1950, there’s a good chance you have lime plaster on your walls and/or ceilings. It was used as an internal wall plaster from thousands of years ago, up to around the time when fireplaces were in common use, and drafts from doors and windows were familiar.
Lime plaster is traditionally a mix of lime and a reinforcement fibre, such as horsehair which gives it additional strength.
The benefits to using lime plaster were that it helped prevent damp problems as it is fully breathable and therefore any damp that penetrated it was quickly dispersed into the room where it was dealt with by that drafty ventilation and warm air from the open fire. Not only that, but lime plaster actually draws damp out of the solid walls or masonry it’s applied to.
It’s unlikely that you suffer damp walls if you live in a house with original features and lime plaster. However, with the advent of modern heating and living, drafts and fireplaces are less common, and things like tumble dryers or drying clothes indoors are more common, so whilst the lime plaster is still doing it’s job decades later, the damp that disperses into the room builds up quicker and has nowhere to go. That’s when you can find you have damp problems such as condensation which brings black mould, or your lime plaster may be discolouring due to water ingress or penetrating damp.
If you are seeing damp patches or discolouration on your lime plaster walls or ceilings, rainwater goods that have become blocked or damaged, airbricks where the ground level has been raised or that are blocked with debris, and internal plumbing leaks are common culprits. Or you may have had some replastering work that was done with modern gypsum plaster, or some other non-breathable material that is hindering the lime’s natural properties. In this case you will need remedial work carried out to restore the building to its former condition.
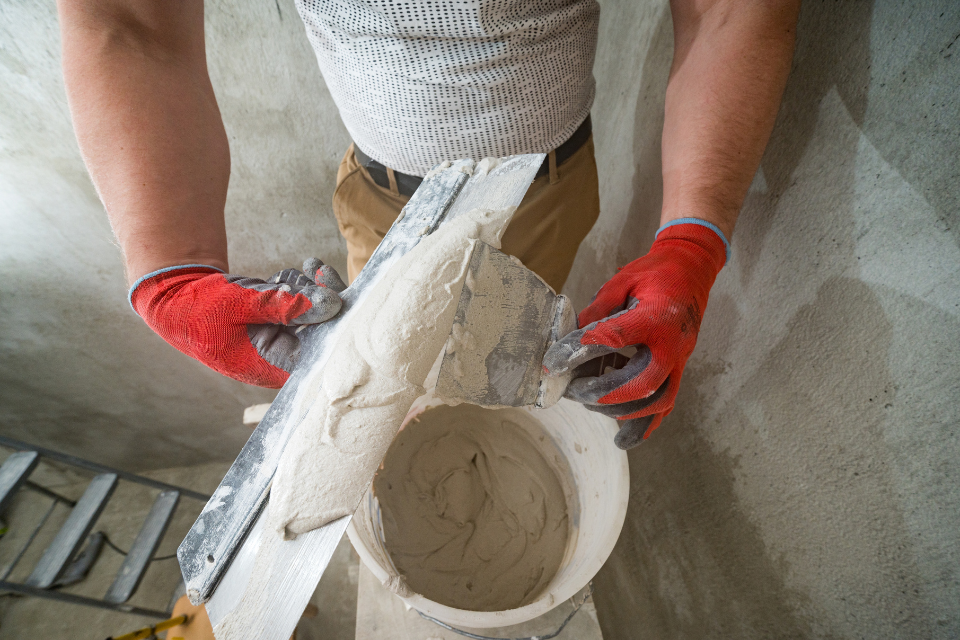
How is lime plaster applied?
The applicationcan take longer than modern gypsum plaster, mainly because of the techniques required and the fact that it is naturally heavier than gypsum. If a coat of lime plaster is applied too thickly, the weight of it can cause slumping and the excess water trapped within the too thick coat may also cause shrinkage and cracking.
The three coat lime plaster system is therefore used.
- Scratch coat – applied to the substrate (bare wall material) it is made up with a coarse aggregate to produce a rough surface. The plasterer will also make deliberate ‘scratches’ creating a good surface onto which the second coat will adhere.
- Float coat or brown coat – Similar to the scratch coat the float coat is also coarse but scratched less deeply, ready to receive the final coat.
- Finish coat – this coat is visible to the homeowner and creates the final decorative surface. Therefore the finish coat is made up with a finer aggregate and the plasterer creates a beautiful smooth finish.
The industry recommends one drying day per 1mm thickness of lime plaster. Therefore a 10mm thick coat will require 10 days before the next coat can be applied. We typically use 6mm thickness, so you can expect a wait of 6 days between each coat, but it’s worth it for the final effect and benefits!
If you have damp showing through your lime plaster walls or ceilings, the route cause needs to be identified as soon as possible.
We would be pleased to survey your home and offer our recommendations for fixing damp problems and your lime plaster, just contact the office to make a booking. There is no charge for a damp survey, and we can often get to you within two weeks.
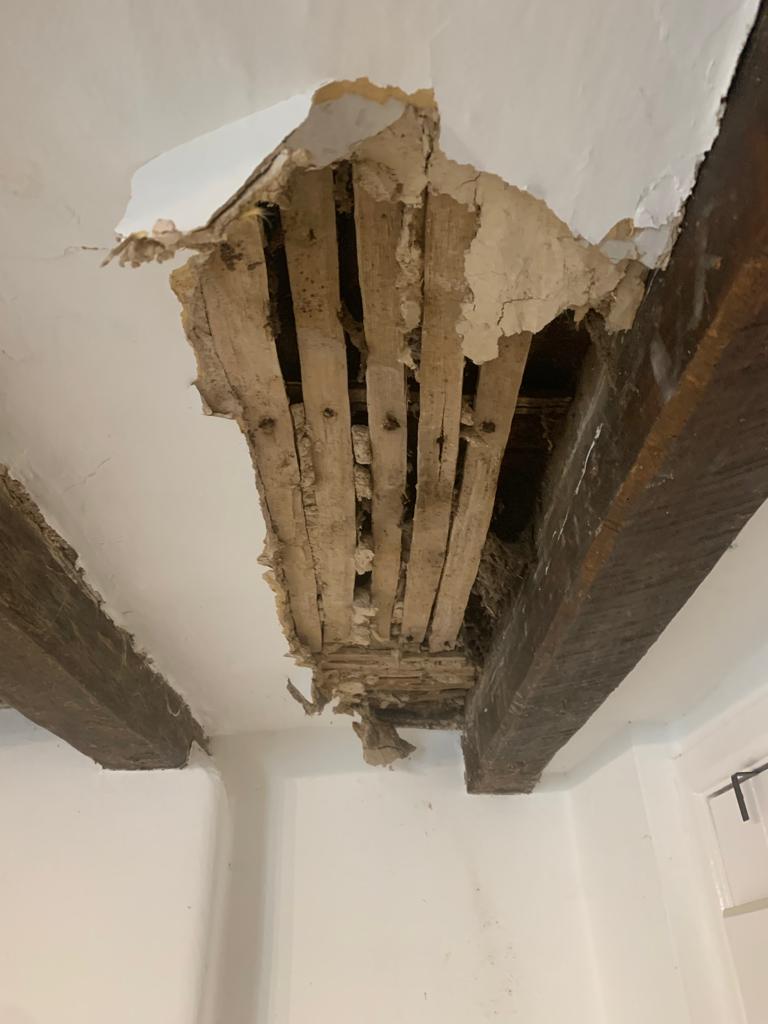
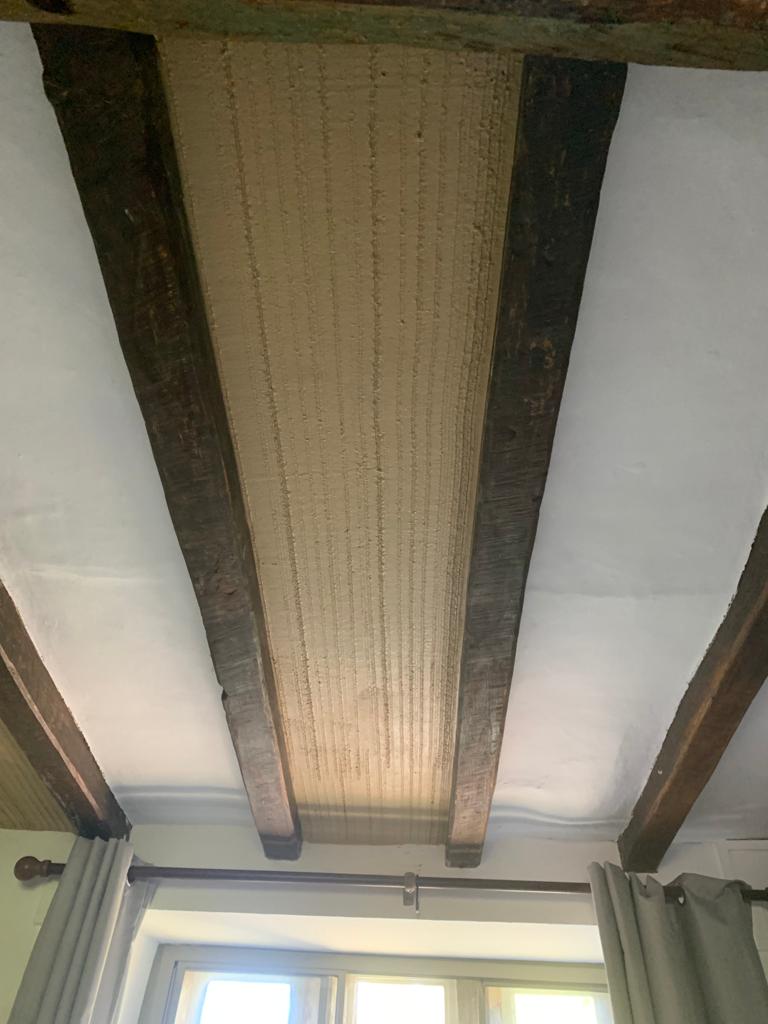
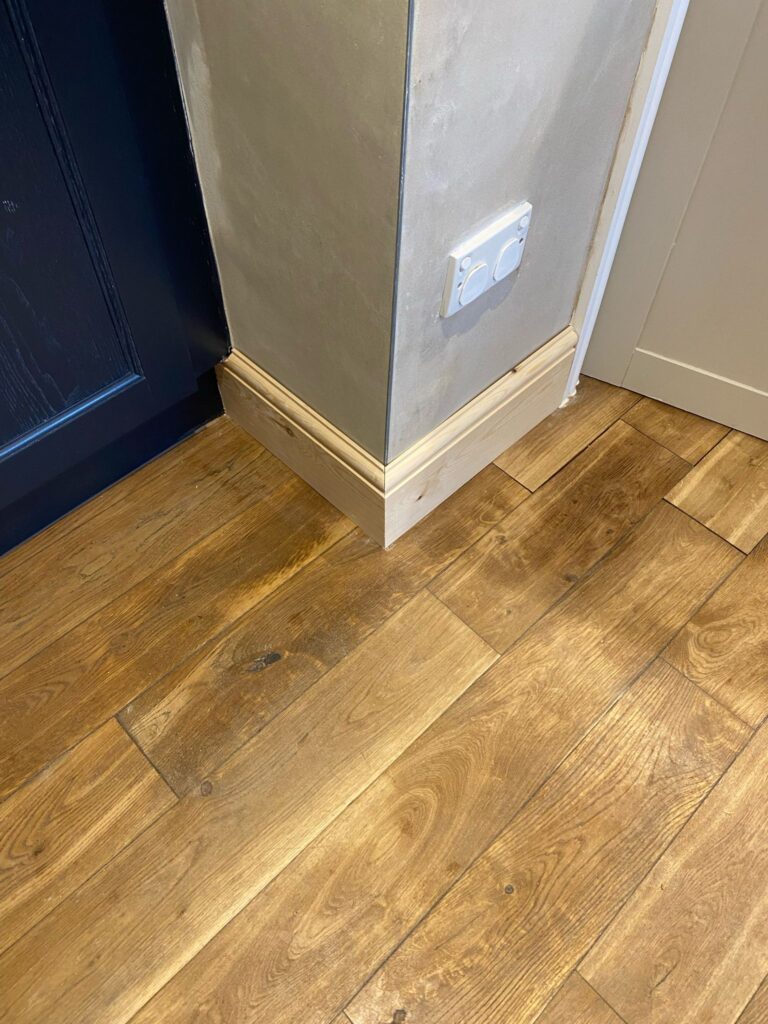
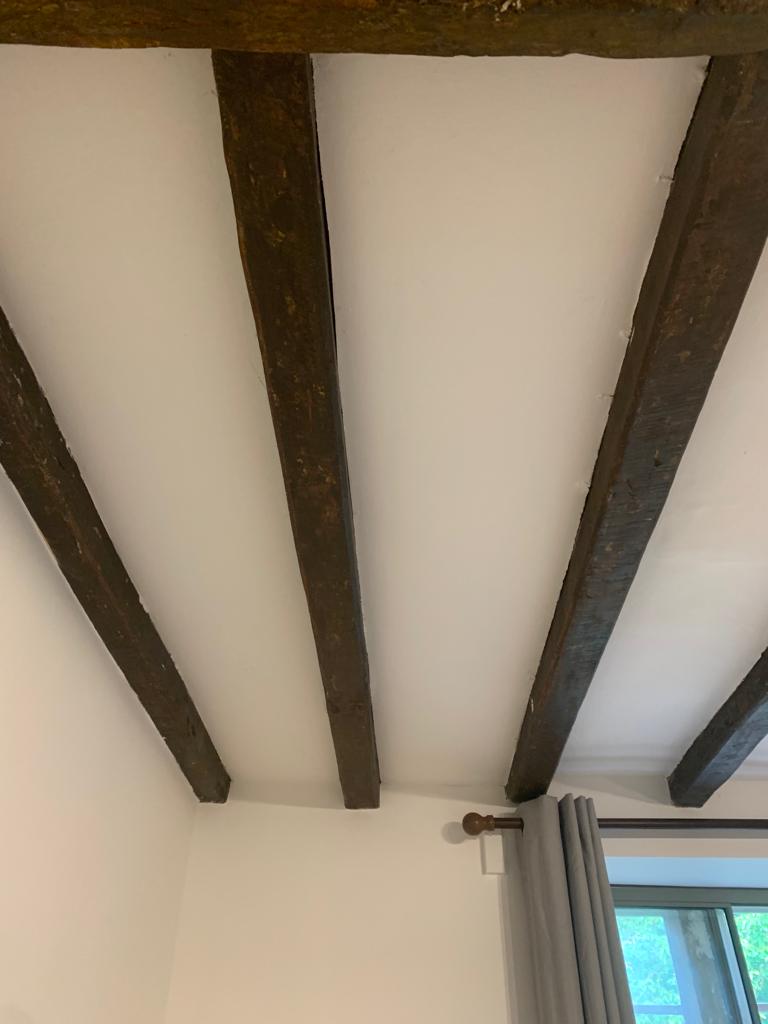
Examples of our plastering: